


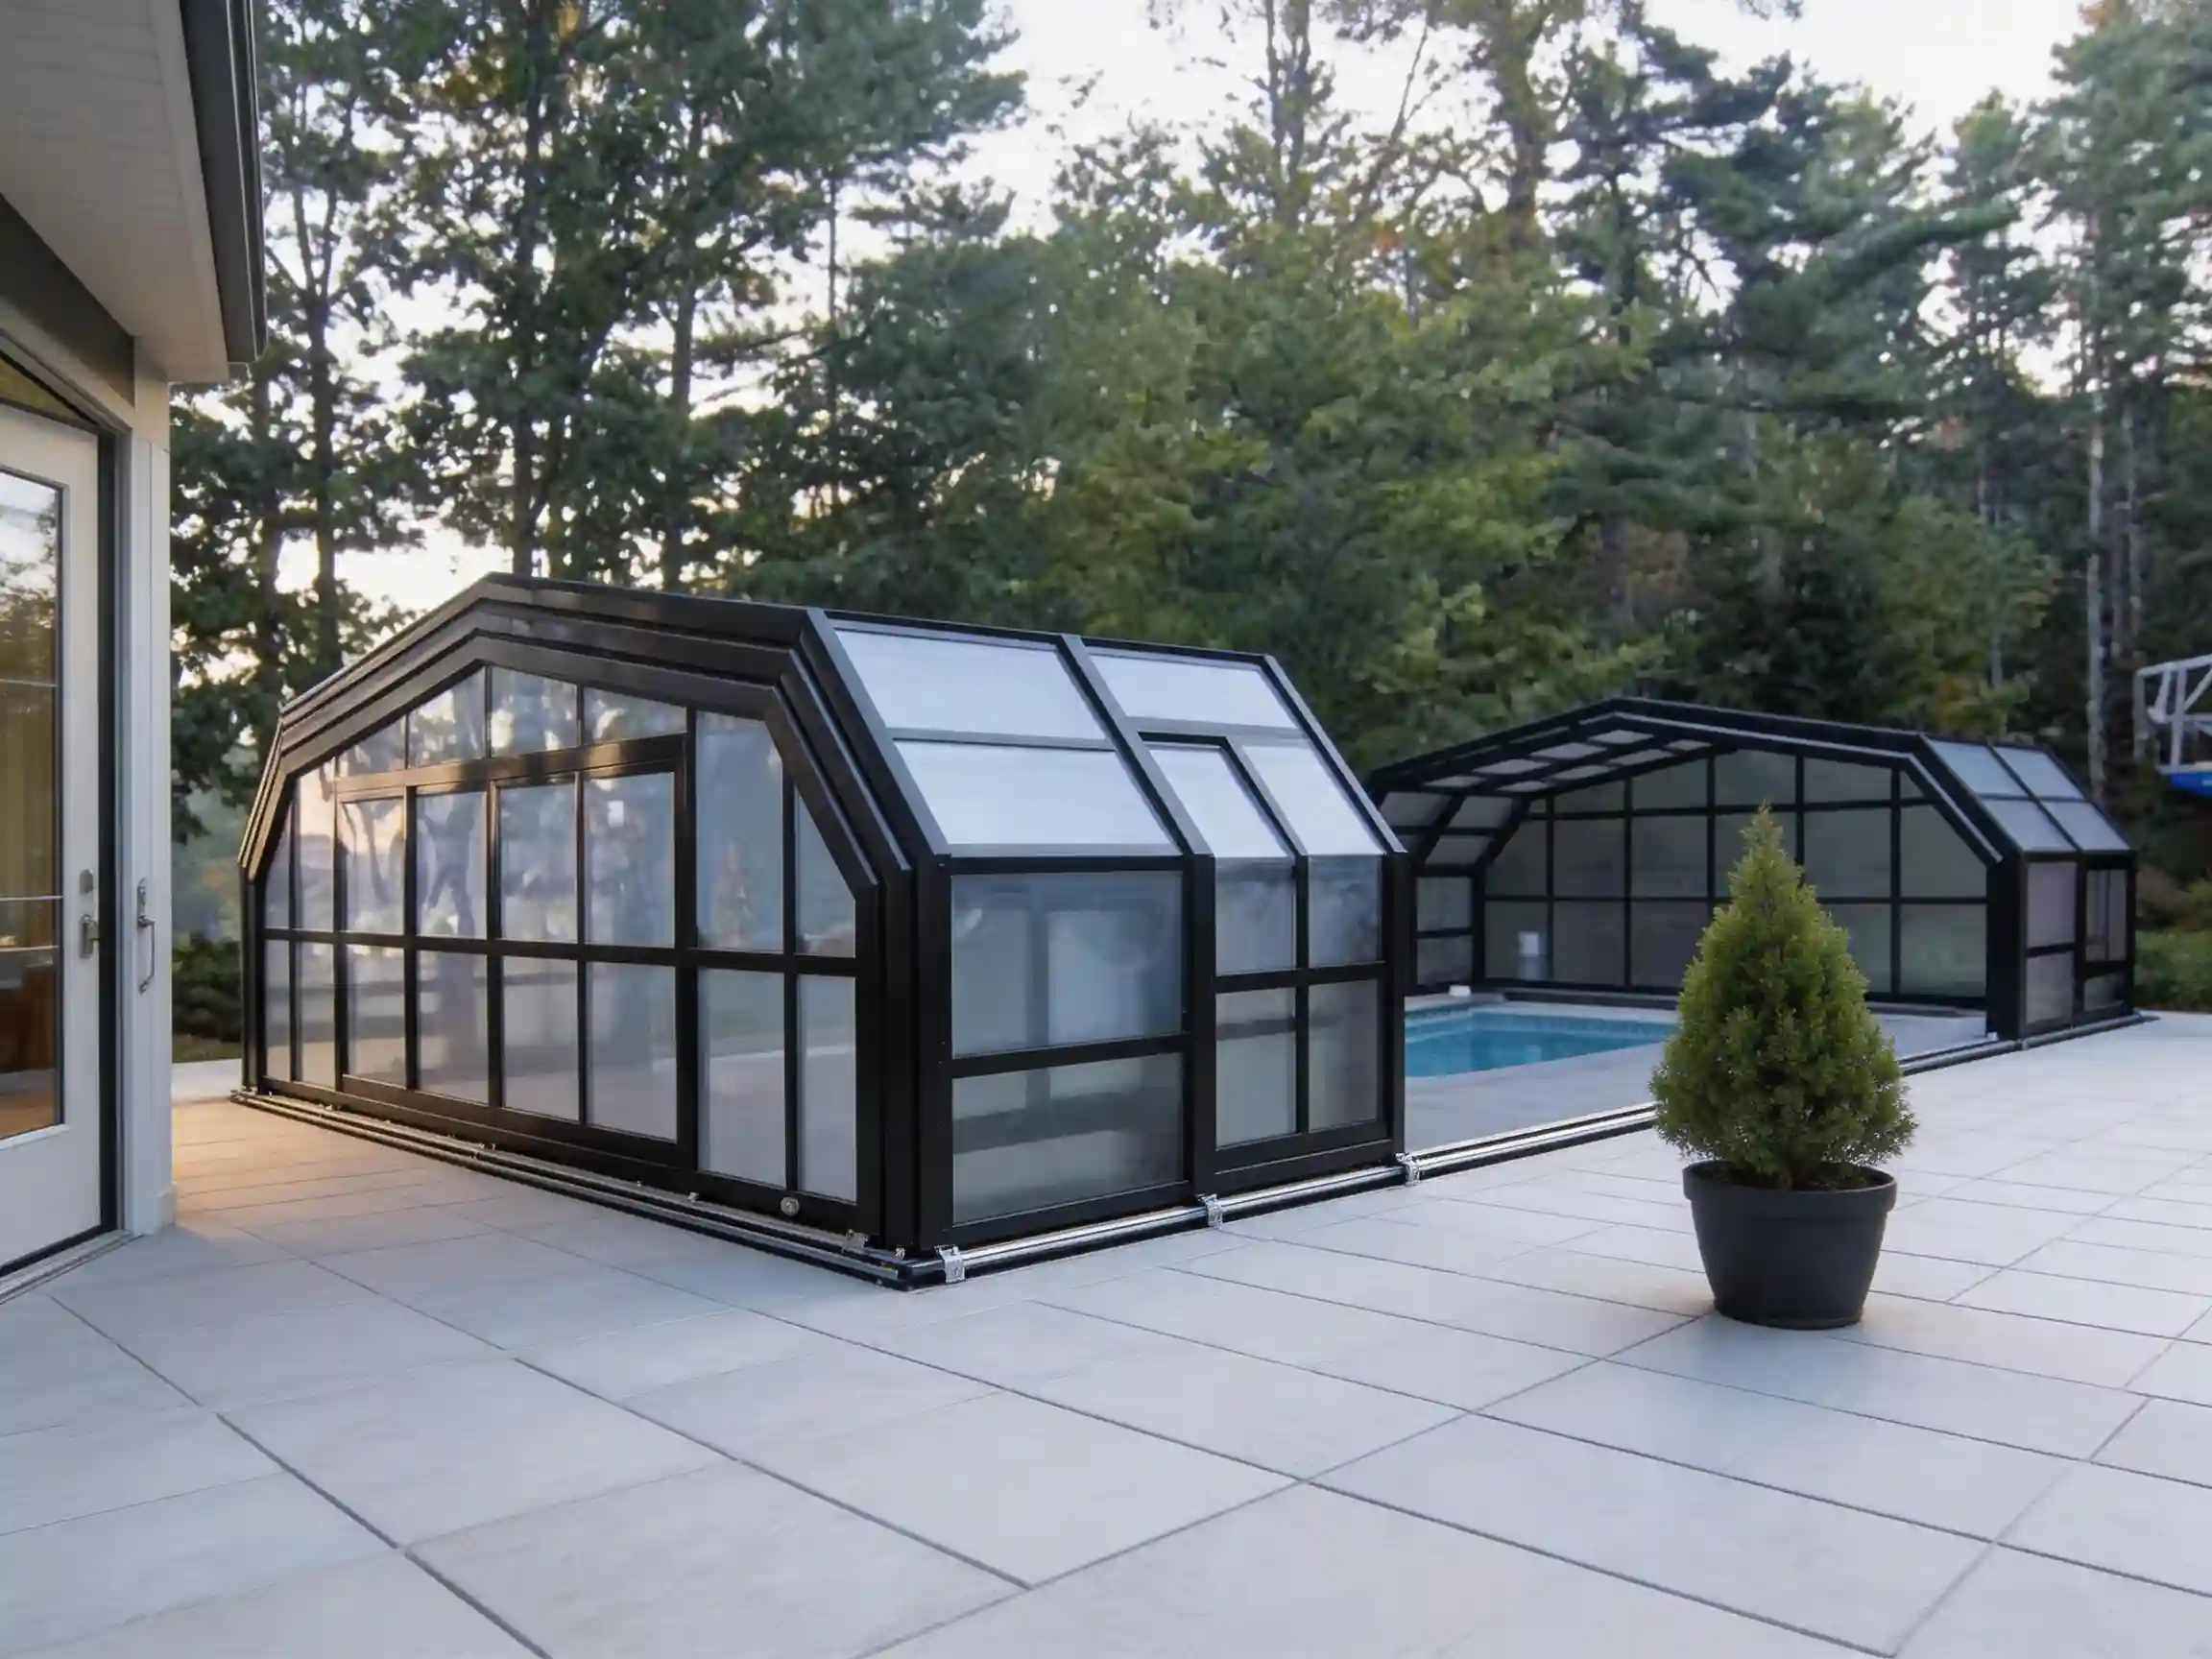
Quick Answer: What Should You Measure?
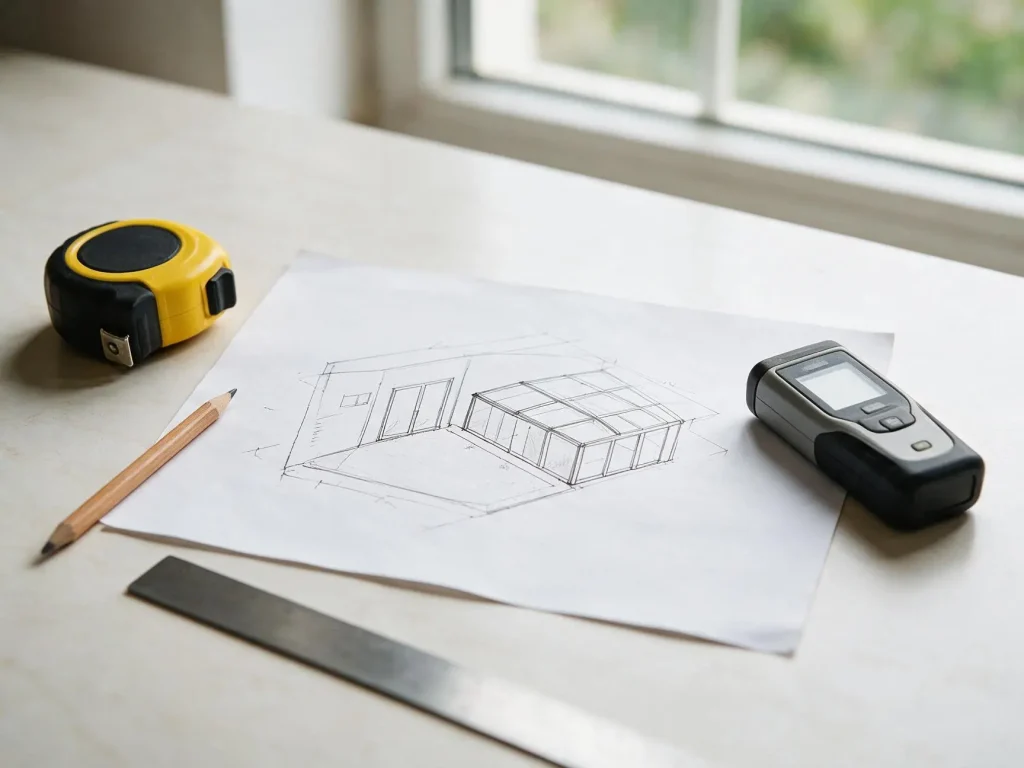
To measure for a retractable sunroom, record the usable width, length and available height of the installation area. Then check the clearance needed for opening, nearby obstructions, the installation surface and delivery access. Send these measurements with site photos and a simple sketch when requesting a quote.
These details help a supplier understand the project. However, preliminary measurements are not a substitute for final installation drawings, structural assessment or site verification.
A patio may look large enough for an enclosure but still have a doorway, roof overhang or step that affects the design. Measuring the whole site—not just the area you want to cover—helps identify these constraints early.
For an overview of product types and applications, read our retractable sunroom complete guide.
Preliminary Measurements vs. Final Installation Dimensions
Before taking measurements, understand the difference between an initial enquiry and a production-ready design.
Preliminary measurements describe the site and help establish a possible layout. They are useful for discussing feasibility, options and an initial quotation.
Final installation dimensions must account for the selected system, fixing positions, installation tolerances, track arrangement and verified site conditions.
Do not assume that the size of your patio is automatically the finished size of your sunroom.
For example, a terrace may have enough floor area but limited overhead clearance. A wall-mounted design may also require suitable attachment details rather than simply matching the wall width.
Label your measurements clearly as preliminary until the final dimensions have been checked and approved.
1. Measure the Usable Width and Length
Start with the area where you want the sunroom installed.
Record:
- The width across the proposed enclosure
- The length or projection away from the building
- The total usable floor area
- Distances to nearby boundaries, steps and fixed objects
Use one measurement unit throughout the enquiry. Millimetres or inches can both work, but mixed units create avoidable confusion.
Write the unit beside every dimension on your sketch.
Measure at More Than One Position
Existing patios and terraces are not always perfectly square.
Measure the width at the front, middle and rear of the proposed installation area. Where relevant, measure the length on both sides.
If you find different readings, record all of them. Do not average them and assume the space is regular.
Diagonal measurements can also help identify whether a rectangular area is out of square. They are useful as a preliminary check, although the installer should verify the final setting-out dimensions.
Mark What Each Dimension Means
A number without a reference point can be misleading.
State whether you measured:
- Between two walls
- From a wall to a patio edge
- Across the finished floor
- Inside an existing opening
- Across the proposed external footprint
This distinction helps prevent confusion between usable interior space and the overall installation footprint.
2. Check Available Height and Overhead Obstructions
Height can affect the roof profile, entrance clearance and connection to an existing building.
Record the vertical distance from the installation surface to relevant features, including:
- Roof eaves and overhangs
- Balcony edges
- Existing gutters
- Door and window heads
- Outdoor lights
- Pipes and cables
- Air-conditioning equipment
Take measurements at several points if the floor or overhead structure is uneven.
Also show which doors and windows need to remain accessible. A design should not accidentally block a window, interfere with an outward-opening door or make an existing gutter difficult to maintain.
If you are unsure where the sunroom would connect to the building, photograph the full wall rather than measuring only one possible fixing point.
Safety note: Do not climb onto a roof or lean over a balcony to collect measurements. Use safe ground-level methods or ask a qualified professional to check inaccessible areas.
3. Identify the Opening Direction and Retraction Area
A retractable sunroom needs more than enough space when closed. Its movable sections must also operate without hitting nearby objects.
Depending on the system, sections may slide, nest or move toward a designated end. The required operating clearance is product-specific.
Before requesting a quote, indicate:
- Which end you would prefer the system to open toward
- Where movable sections could sit when retracted
- Which entrances must remain clear
- Where furniture will be placed
- Whether plants, fences or equipment are nearby
Do not guess a standard retraction allowance. Ask the supplier to confirm the required space for the proposed configuration.
Keep Fixed Objects Separate from Movable Furniture
A table can usually be relocated. A pool edge, retaining wall or outdoor kitchen cannot.
Mark fixed features clearly on the site sketch. If furniture placement matters to the project, show it as well, but distinguish it from permanent obstructions.
This helps the supplier evaluate whether the opening direction suits everyday use.
For airflow considerations related to opening layout, see our retractable sunroom ventilation design guide.
4. Record the Installation Surface and Changes in Level
The installation surface affects track positioning, anchoring and site preparation.
Identify whether the proposed area is:
- A concrete slab
- A tiled terrace
- A timber or composite deck
- A paved patio
- A rooftop surface
- An unfinished site
A finished surface does not reveal everything underneath it. Tiles, paving and deck boards alone do not confirm that the underlying structure is suitable for the proposed loads or fixings.
If available, provide information about the supporting slab, deck structure or roof build-up.
Also record visible site conditions:
- Steps or changes in level
- Cracks or damaged finishes
- Uneven paving
- Drain locations
- Areas where water collects
- Existing expansion joints
Do Not Assume Tracks Should Follow the Floor Slope
Outdoor floors may slope to drain rainwater. A sliding track system may have different alignment requirements.
The relationship between floor drainage, track support and operating alignment should be resolved in the project design. Do not modify the floor or install tracks based on a general online recommendation.
For water-management considerations, read our retractable sunroom drainage design guide.
5. Document Walls, Boundaries and Nearby Services
A wall can affect the design even if the sunroom is freestanding.
Photograph nearby walls and note their position relative to the proposed enclosure. If the design may attach to a building, identify the wall finish and any available information about the structure behind it.
Relevant details include:
- Brick, concrete, cladding or other wall finishes
- Existing waterproofing details
- Rainwater pipes
- Electrical outlets
- External cables
- Water or gas services
- Doors and maintenance access points
Do not drill into a wall or floor simply to check what is behind it. Fixing locations and concealed services should be assessed before installation.
Property boundaries may also influence the usable layout. Local planning, permit, fire-safety and access requirements vary, so check the applicable rules before treating a preliminary layout as approved.
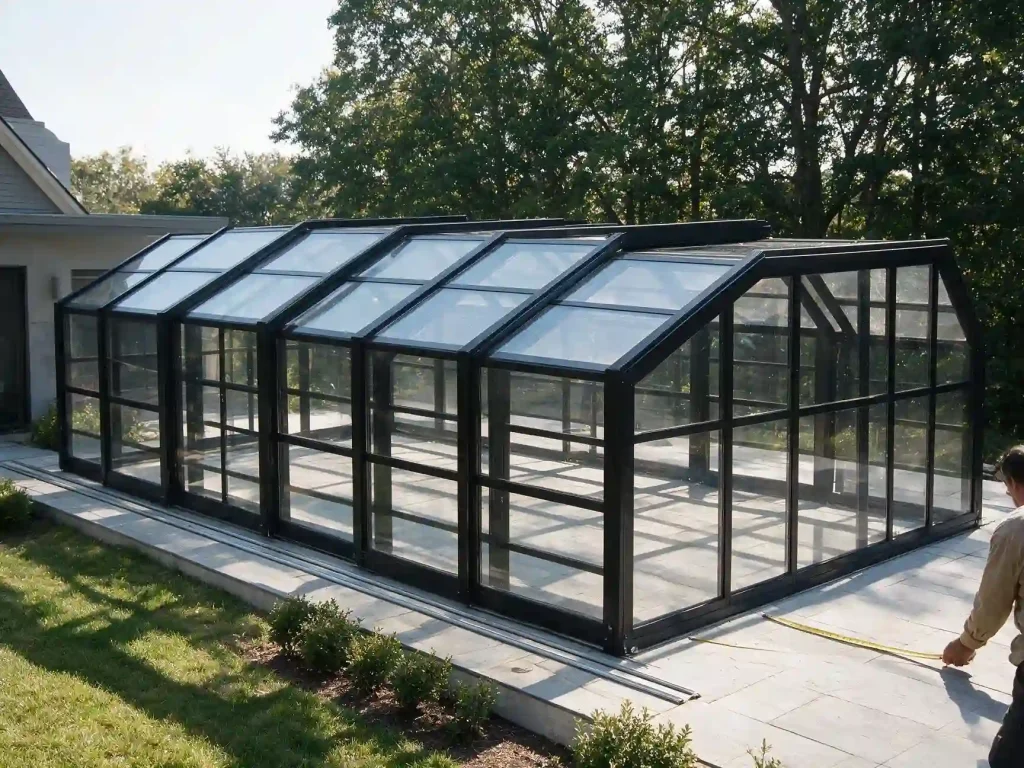
6. Check Delivery and Installation Access
A suitable installation area does not always mean the product can reach it easily.
Large components may need to pass through gates, corridors or other restricted areas. Some sites may require lifting equipment or a different delivery plan.
Record:
- Gate and doorway widths
- Passageway heights
- Narrow turns or corridors
- Stairs and changes in level
- Access from the unloading area
- Space for temporary component storage
Take photos along the route from the delivery point to the installation area.
For rooftop projects, include information about lift access and any building-management restrictions. Do not assume a lift or crane will be suitable without checking component sizes, weight limits and site conditions.
Access information can help clarify installation scope and potential additional costs. For broader budgeting considerations, see our retractable sunroom cost guide.
7. Take Site Photos That Explain the Project
Clear photos often answer questions that measurements alone cannot.
A useful site photo set includes:
- A wide view of the entire proposed area
- A view facing the building
- Views from both sides
- A photo of the proposed opening or retraction end
- Close-ups of the installation surface
- Photos of drains, steps and obstacles
- Photos of the delivery access route
Keep enough context in each image to show where the detail sits.
A close-up of a drain is useful, but a wider photo should also show its relationship to the proposed track position. Similarly, photograph a doorway together with the surrounding wall and floor.
If possible, number the photos and mark the corresponding viewpoints on your sketch.
Avoid sending only heavily cropped or edited images. They can hide the site details needed for a realistic assessment.
Site Measurement Checklist
| Item | Information to Provide | Why It Matters |
|---|---|---|
| Usable width | Measurements at several positions | Helps identify irregular site geometry |
| Usable length | Both sides where relevant | Helps define the proposed footprint |
| Available height | Clearance to eaves, balconies and fixtures | Helps identify overhead restrictions |
| Direzione di apertura | Preferred opening end and nearby obstacles | Helps assess operating clearance |
| Superficie di installazione | Surface type and known supporting structure | Helps identify site preparation questions |
| Changes in level | Steps, slopes and uneven areas | Helps plan track support and transitions |
| Drenaggio | Drain positions and visible water collection | Helps coordinate water management |
| Walls and services | Photos of walls, pipes, cables and outlets | Helps identify connection constraints |
| Delivery access | Route dimensions, turns and stairs | Helps plan delivery and installation |
| Sede del progetto | City or region | Helps establish climate and local review needs |
Common Measurement Mistakes to Avoid
The most common mistakes are usually missing context rather than using the wrong measuring tool.
Avoid:
- Measuring only one width and one length
- Mixing millimetres, centimetres and inches
- Confusing internal space with the external footprint
- Ignoring roof overhangs and outward-opening doors
- Forgetting the retracted position of movable sections
- Assuming existing tiles or decking provide suitable support
- Leaving delivery access out of the enquiry
- Treating preliminary dimensions as production approval
If a measurement is uncertain, label it as uncertain. A clearly identified estimate is more useful than an inaccurate number presented as final.
A Project Brief You Can Send with Your Enquiry
Copy the following template and complete the information you have:
Project location:
City, region and country:
Application:
Residential patio, pool enclosure, restaurant terrace, hotel courtyard or other:
Proposed dimensions:
Width:
Length:
Available height:
Measurement unit:
Installation surface:
Surface type:
Known supporting structure:
Steps or level changes:
Preferred operation:
Opening direction:
Nearby fixed obstructions:
Building connection:
Freestanding or attached preference:
Wall details, if known:
Delivery access:
Gate or passage dimensions:
Stairs, narrow turns or rooftop access:
Attachments:
Site photos:
Dimensioned sketch:
Existing drawings, if available:
Other requirements:
Intended usage, appearance preferences, target schedule and any known site restrictions:
You do not need to have every technical answer before starting a conversation. The goal is to make the site understandable and identify what still needs to be checked.
FAQ: Measuring for a Retractable Sunroom
Can I take the initial measurements myself?
Yes, you can usually record accessible dimensions for an initial enquiry. Use safe methods, label the units and provide photos. Final dimensions and installation conditions should be verified before production and installation.
Should I measure the inside space or the overall footprint?
Record the available site dimensions and explain the reference points. The supplier should clarify how those measurements relate to the proposed external footprint and usable internal space.
How much space is needed when the sunroom retracts?
There is no universal allowance. The required space depends on the system, module arrangement and opening configuration. Request a layout showing the open and closed positions.
Can a retractable sunroom be installed on an existing patio?
Possibly, but the surface condition, supporting structure, fixing requirements and drainage need review. An existing patio should not automatically be treated as installation-ready.
Are photos enough to receive an accurate quote?
Photos help explain the site, but dimensions and project requirements are also needed. Depending on the project, an initial quote may remain provisional until technical details are confirmed.
What should I do if the site is not square?
Provide measurements from multiple positions and include diagonal readings where practical. Do not force the site dimensions into a perfect rectangle. The final layout should account for the actual geometry.
Do rooftop projects need additional checks?
Yes. Rooftop projects may require assessment of structural capacity, wind exposure, anchoring, waterproofing, access and local approvals. Preliminary measurements alone cannot confirm suitability.
Key Takeaways
Measuring for a retractable sunroom means documenting both the proposed enclosure area and the conditions around it.
The most useful enquiry includes:
- Width, length and available height
- Opening and retraction clearance
- Installation surface and visible level changes
- Wall, drainage and service details
- Delivery access information
- Site photos and a labelled sketch
Keep preliminary measurements separate from final installation dimensions. Accurate site information supports clearer discussions, but the selected system and site conditions still need technical verification.
Discuss Your Retractable Sunroom Project with Sunrim
Preparing a residential patio, pool enclosure or commercial terrace project?
Contatta Sunrim with your location, preliminary dimensions, site photos and a simple sketch. Include any known obstacles, access restrictions and opening preferences.
Ask the team to clarify the proposed configuration, required site checks and the next steps before confirming production.

